Curriculum
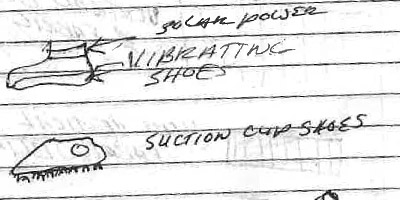
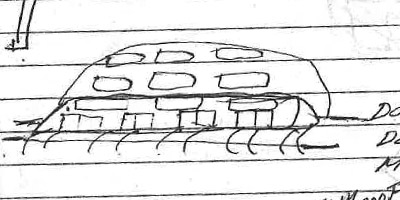
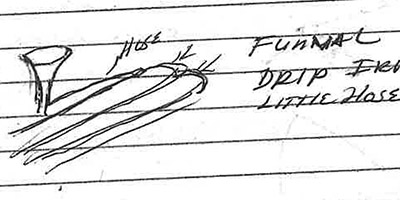
The Inventions for Little Tokyo curriculum adapts Aileen Omura's futuristic visions to community engagement processes around urban planning and neighborhood advocacy. By asking participants to create their own futuristic inventions and tell stories about these inventions, we can learn more about the values and barriers that exist in our communities. If you wish to adapt one of these workshops, please credit Inventions for Little Tokyo, Little Tokyo Service Center, and Carol Zou.

Intro to 3D Printing
How to introduce the concept of 3D printing to a first-time audience, without getting too much into the technical details.

Intro to Community Visioning
What is community visioning? Why does it matter, and what does art have to do with it?

Community Visioning Session - Digital
This curriculum builds upon a take-home art kit and digital video chat sessions to review the art kit worksheets. Suggested workshop size: 5-10 people. Suggested age range: middle school, teens for art kit component, other aspects can be adapted to older audiences.

Community Visioning Session - In Person
This curriculum is for in-person workshops. Suggested size: 15-20 people. Suggested age range: all ages.